
RETTEW VAULT Procedure
Creating a New Project in VAULT
1. Open Civil 3D using the RETTEW Civil 3D 2012 desktop shortcut.
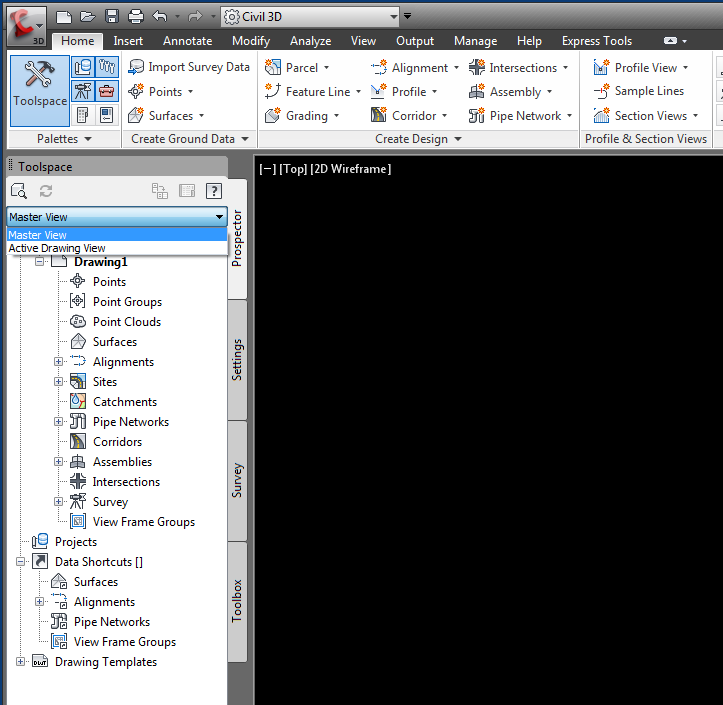
2. In Civil 3D, set prospector to MASTER VIEW.
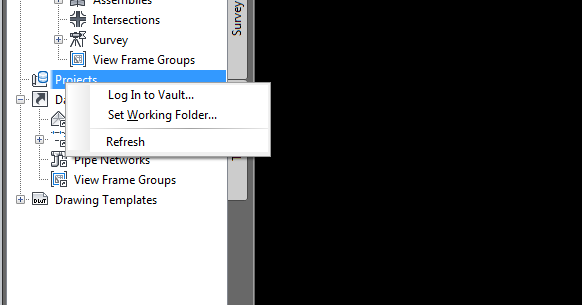
3. Right-click PROJECTS, LOG IN TO VAULT.
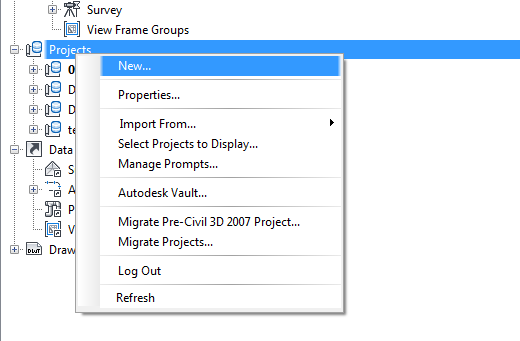
4. To create a new project, right-click PROJECTS, and select NEW.
5. In the Name field, enter the assigned project number and name. Check the USE PROJECT TEMPLATE checkbox. Verify that you have the RETTEW Project template selected. Click OK.
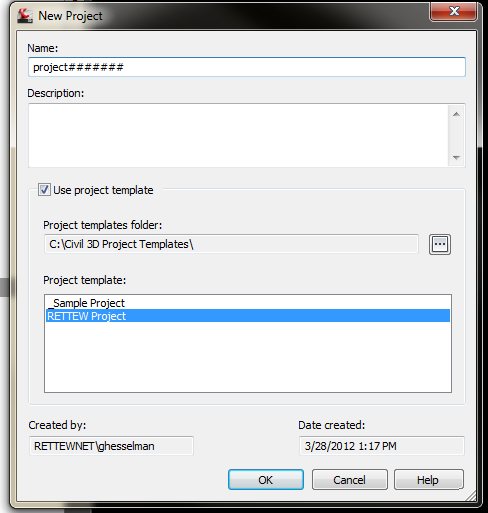
***Note - This will not only create a new project within Vault, it will also create a new project folder on your C: Drive with the corresponding folders in your working folder (C:\_RettewVaultWIP).
Creating a New Drawing and Checking it into VAULT
1. Open Civil 3D and log into Vault.
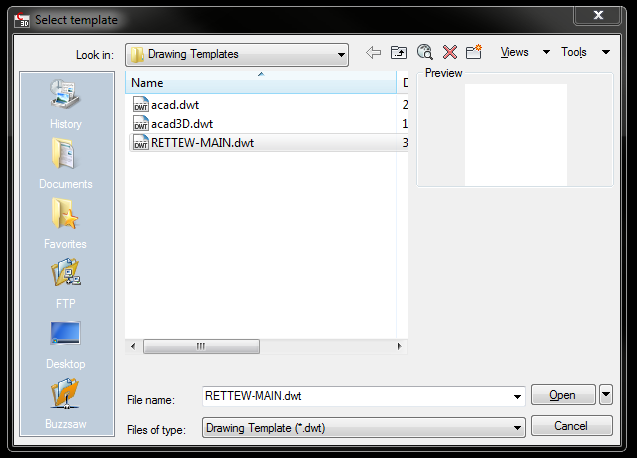
2. Create a new drawing using the appropriate drawing template.
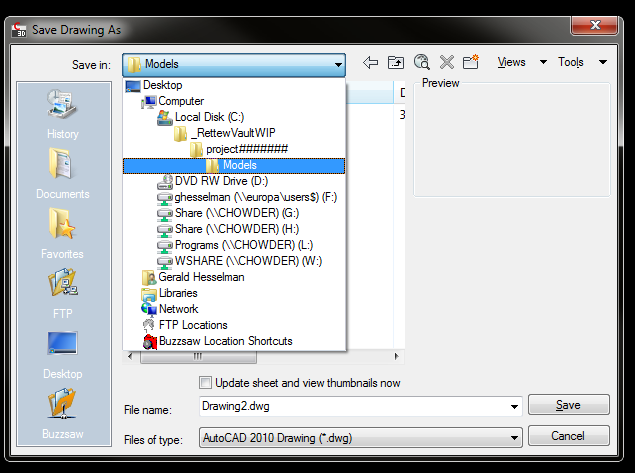
3. Save the drawing to your Vault working folder in the appropriate location.
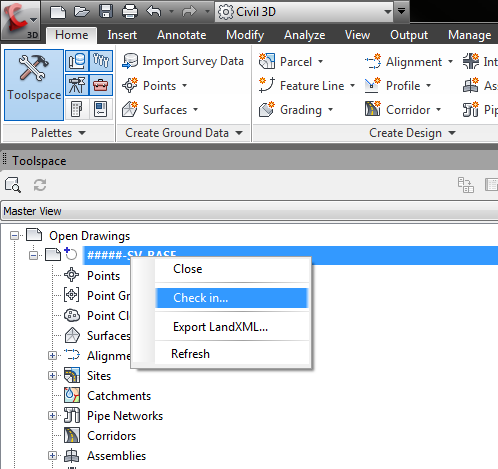
4. When you have completed your design and/or edits, save your drawing. You are now ready to check it into Vault.
5. Right-click the file name and select CHECK IN….
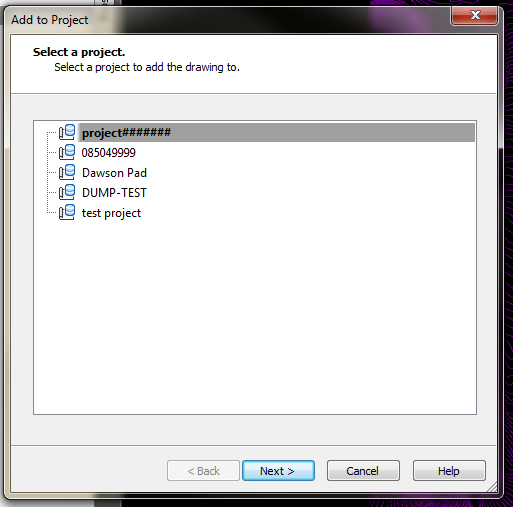
6. The Add to Project box appears. Select desired project and click NEXT.
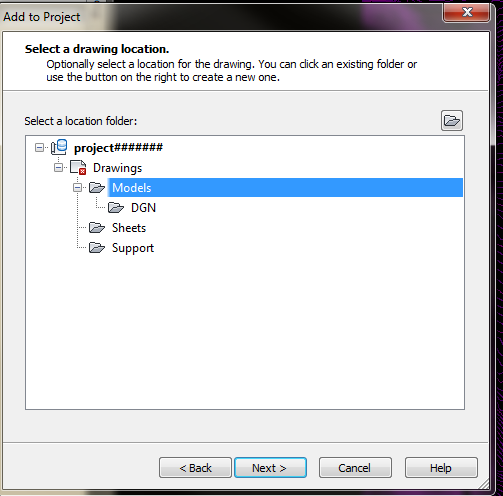
7. Select the appropriate location folder and click NEXT.
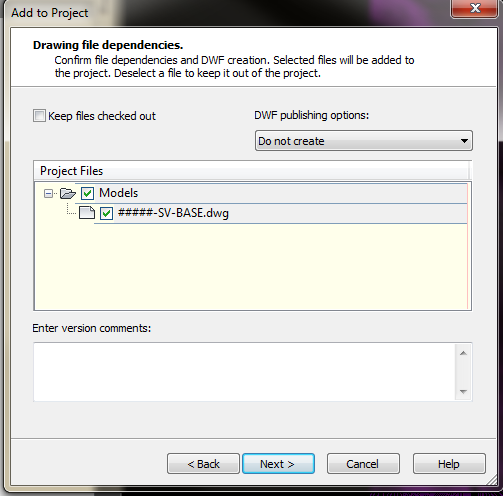
8. The Drawing file dependencies box appears. If there are any external reference files (XREF’s) in the drawing, they should be added to vault at this time. Once the drawing is in vault, there is an option to keep the drawing checked out; that selection is made here. Version comments may also be added at the bottom. Click NEXT, or, if there is no Civil 3D data in the drawing, click FINISH.
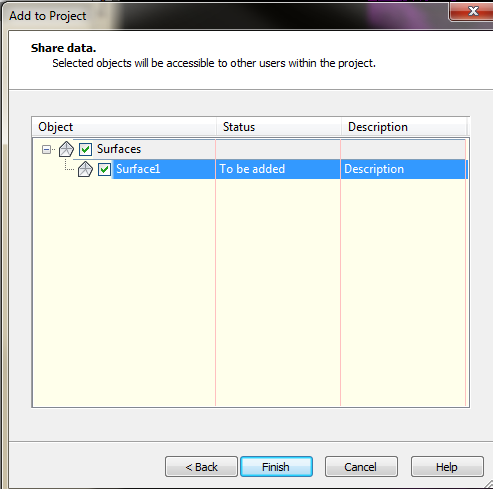
9. The Share data box gives the option to add in any Civil 3D data in the drawing you wish to share. Click FINISH.
10. The drawing is now uploaded to Vault. Civil 3D will close out the drawing if the keep checked out box was not checked in step #8.
Loading a Drawing from Vault
1. Open Civil 3D, and log into Vault.
2. Locate the desired project in the project list.
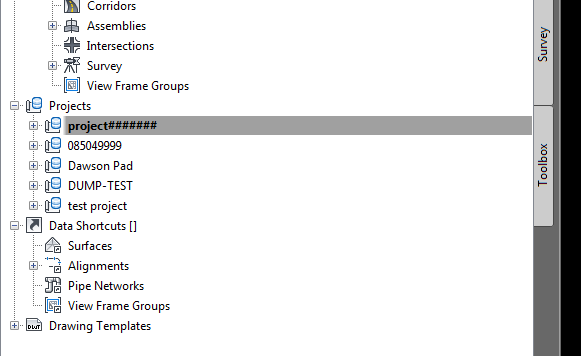
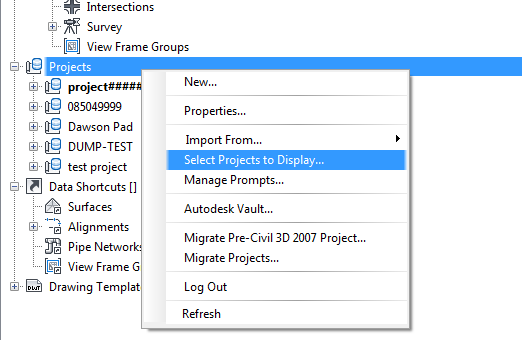
3. If the project is not shown, right click PROJECTS and choose SELECT PROJECTS TO DISPLAY.
4. Check which projects to show in the prospector view. Click OK

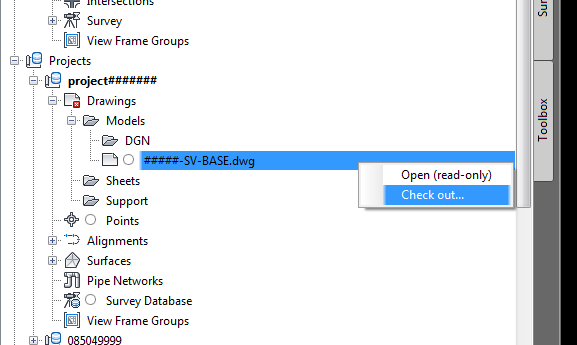
5. Locate the desired project and expand the drawings icon. Right-click the drawing and select CHECK OUT.
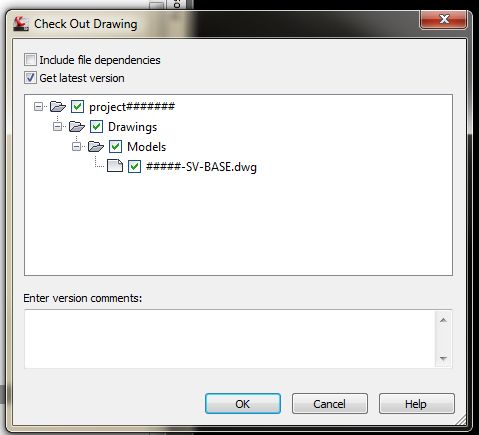
6. The Check Out Drawing dialog box gives the option to include file dependencies. ALWAYS check Get latest version and click OK.
7. The drawing is now checked out to you and will appear in Civil 3D.
Notes about VAULT
- The only CADD related files that are NOT stored in Vault are plots (PDF’s & DWF’s). They can be found in the project file under the appropriate local server.
- There is no need to create “archives” or “save” folders. Vault will create versions of the project; previous versions will be available for you to check out.
Comments
0 comments
Please sign in to leave a comment.