
*This must be done in the office. Cannot be added via VPN*
1. The Canon installer can be found here: Z:\Shared\Service Areas\Information Technology and Facilities\Resources\Software Installs\Drivers\Canon
2. Copy and paste the file in that folder to your desktop and double click it to run. Click Yes on the prompt that appears.
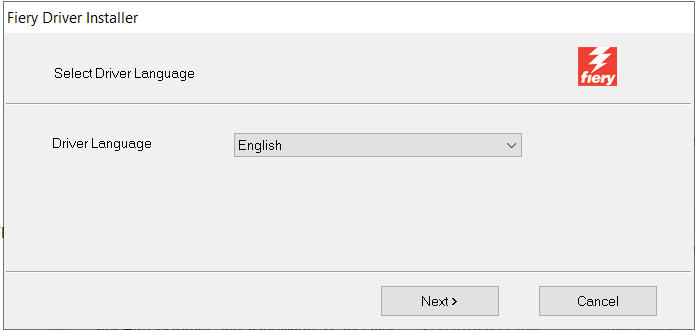
3. Make sure English is selected and click Next.
4. Click Next.
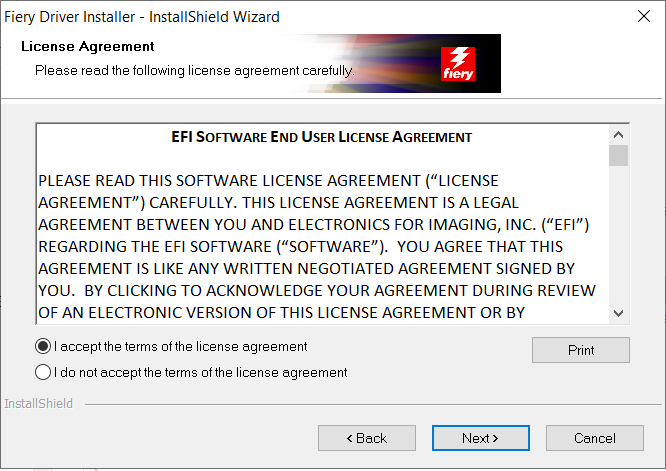
Accept the license agreement and click Next.
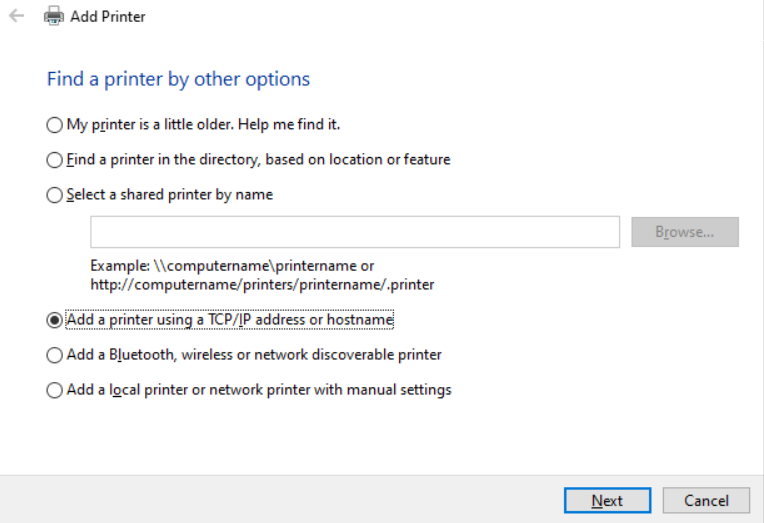
5. Once the next box appears select Add a printer using a TCP/IP address or hostname, click Next.
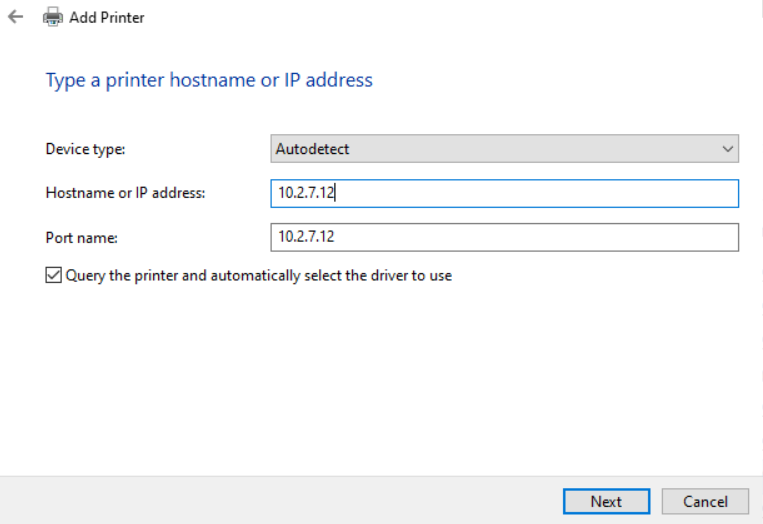
6. Type in the IP address for your office's copier (see chart below), ensure the Query the printer checkbox is marked and click Next
| Office (Location) | IP Address |
|
Denver |
10.7.7.51 |
| Lancaster (B2F1) | 10.1.7.69 |
| Lancaster (B2F2 MarCom) | 10.1.7.235 |
| Lancaster (B2F3 LD) | 10.1.7.76 |
| Lancaster (B3F1) |
10.1.7.231 |
| Lancaster (B3F2 NS) | 10.1.7.230 |
| Lancaster (B3F2) | 10.1.7.232 |
| Lancaster (B3F3) | 10.1.7.233 |
| Lancaster (B3F4) | 10.1.7.234 |
| Lehigh Valley | 10.5.7.8 |
| Mechanicsburg (Expansion) | 10.2.7.12 |
| Mechanicsburg (Front Desk) | 10.2.7.11 |
| Mechanicsburg (Plot Room) | 10.2.7.16 |
| Pittsburgh | 10.10.7.42 |
| Williamsport (Reception) | 10.9.7.5 |
| Williamsport (Plot Area) | 10.9.7.112 |
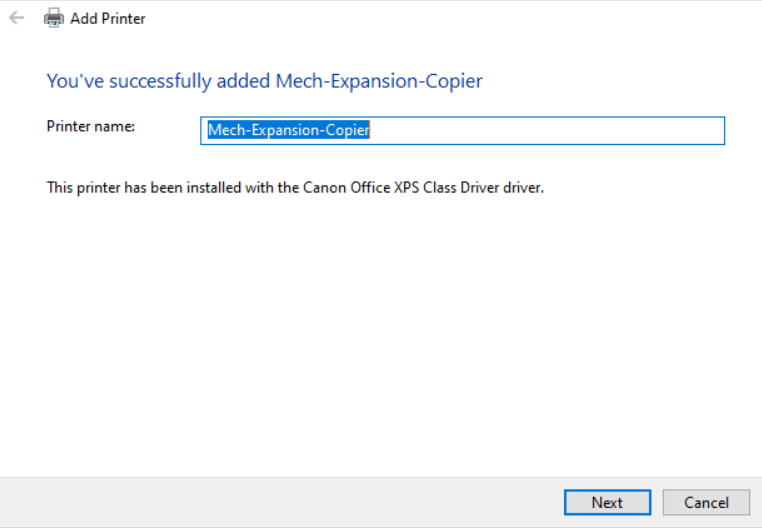
8. Click Next - Do not change the printer name.
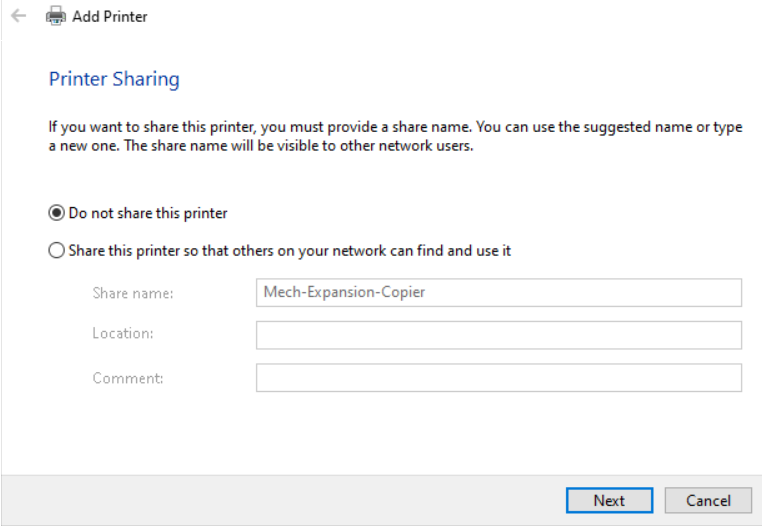
9. Select Do not share this printer and click Next.
10. Click Finish.
Comments
0 comments
Please sign in to leave a comment.